A trailer brake controller is a vital component for safe towing, regulating trailer brakes in sync with the vehicle. Electronic controllers offer precise control, while plug-and-play systems simplify installation. Proper setup ensures optimal performance and enhances towing safety.
Understanding the Basics
A trailer brake controller is essential for towing safety, as it synchronizes the braking system of your Dodge Ram with the trailer. It works by detecting the vehicle’s brake pedal movement and sending an electric signal to the trailer’s brakes. Modern controllers, like those designed for Dodge Ram trucks, often feature electronic or plug-and-play systems for ease of use. These systems are pre-wired in newer models, simplifying installation. The controller typically mounts under the dashboard, ensuring easy access for adjustments. Proper setup involves calibrating the unit to your vehicle’s braking style and the trailer’s weight. This ensures smooth, balanced braking, reducing the risk of skidding or loss of control. Always follow the manufacturer’s instructions for wiring and fuse sizes to avoid electrical issues. Understanding how these components interact is crucial for safe and effective towing, especially with heavier trailers or in varying road conditions.

Installation Steps
Installation begins with disconnecting the negative battery cable for safety. Mount the controller under the dash, ensuring easy access. For Ram trucks with a tow package, plug the controller into the pre-wired connector and secure it firmly. Follow the manufacturer’s wiring diagram for proper connections and fuse sizing to complete the setup successfully.
Mounting the Controller
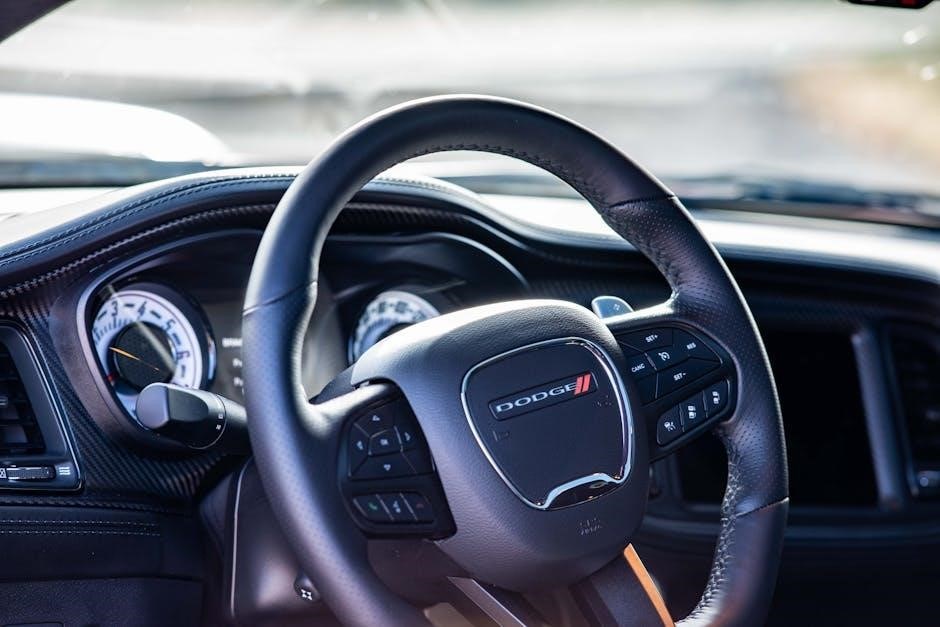
Mounting the trailer brake controller is a straightforward process that requires careful planning. For Ram trucks, the ideal location is under the dash, near the knee bolster, ensuring easy access and visibility. Start by disconnecting the negative battery cable to prevent electrical shocks. Remove the trim panel and any necessary components to access the mounting area. Drill holes if needed, and secure the controller firmly using the provided hardware. Ensure the controller is level and within reach of the driver for optimal control. For vehicles with a tow package, the controller can be plugged directly into the pre-wired connector, simplifying the installation. Proper mounting ensures reliable operation and enhances towing safety. Always refer to the manufacturer’s instructions for specific mounting locations and torque specifications to guarantee a secure and functional installation.
Accessing Pre-Wired Systems
Many modern Ram trucks, especially those equipped with a tow package, come pre-wired for trailer brake controllers, simplifying the installation process significantly. To access these systems, locate the pre-wired connector typically found under the dash or near the steering column. For vehicles without a tow package, you may need to install an aftermarket wiring harness or use an adapter to connect the controller to the truck’s electrical system. Ensure the negative battery cable is disconnected before starting to avoid electrical shocks. If your truck is pre-wired, simply plug the controller into the designated connector. For models requiring additional steps, such as removing the center stack or knee bolster, follow the manufacturer’s instructions carefully. Properly accessing the pre-wired system ensures seamless integration and reliable operation of the trailer brake controller, making towing safer and more efficient. Always consult the vehicle’s manual or a professional if unsure about specific wiring configurations.

Programming and Setup
Programming the trailer brake controller involves setting the initial brake values and calibrating the system to ensure proper synchronization with your vehicle. Start by pressing and holding the brake pedal, then follow the controller’s instructions to set the initial gain. Adjust the settings based on the trailer’s weight and braking performance. For some models, a dealership visit may be required to program the system correctly, especially for OEM modules. Always test the brakes in a safe, open area to ensure everything operates smoothly and safely. Proper programming enhances towing stability and ensures reliable brake performance while on the road.
Calibration Process

The calibration process ensures the trailer brakes synchronize with the vehicle’s braking system. Start by pressing and holding the brake pedal to initialize the controller. Adjust the gain settings based on the trailer’s weight and braking performance. It’s crucial to follow the manufacturer’s instructions for specific calibration steps. For some models, like the RAM 1500, calibration may require a dealership visit to program the system correctly. Always test the brakes in a safe, open area to ensure proper function. Gradual adjustments to the brake settings will help achieve smooth, balanced braking. Proper calibration enhances towing safety and prevents uneven wear on the brakes. If unsure, consult the user manual or seek professional assistance to ensure accurate setup and reliable performance while towing.
Adjusting Brake Settings
Adjusting brake settings on a Dodge Ram trailer brake controller ensures optimal braking performance. Start by following the manufacturer’s initial setup recommendations, then fine-tune the output to match the trailer’s weight and braking characteristics. Use the manual override function to test the trailer brakes independently, ensuring they engage smoothly and proportionally. If the brakes feel too weak, increase the gain setting; if they’re too strong, reduce it. For RAM trucks with factory systems, some adjustments may require dealership programming to sync with the vehicle’s electronics. Always test adjustments in a safe, open area, observing how the trailer responds to braking. Proper adjustment prevents jerky or uneven braking, ensuring a smooth towing experience. Avoid overcompensating, as this can lead to reduced control. Regularly check and adjust settings if the trailer load or towing conditions change.
Understanding Controller Operation
A trailer brake controller translates the vehicle’s brake pedal input into proportional braking for the trailer. Electronic controllers automatically adjust brake force based on deceleration, while manual override allows direct control. Plug-and-play systems simplify operation.
How the Controller Works
A trailer brake controller functions by sensing the vehicle’s deceleration and transmitting proportional brake signals to the trailer. Electronic controllers use sensors to detect brake pedal input and vehicle speed, adjusting trailer brake force accordingly. In Dodge Ram trucks, the controller often integrates with the vehicle’s existing systems, ensuring synchronized braking. Plug-and-play systems simplify installation, connecting directly to the vehicle’s wiring harness. The controller sends power to the trailer brakes proportionally, preventing lock-up and maintaining control. Manual override features allow drivers to apply trailer brakes independently, useful for adjusting weight distribution. Proper calibration ensures smooth operation, with settings adjustable based on trailer weight and preferences. The controller’s operation is seamless, enhancing towing safety and stability. Regular maintenance, like checking connections and brake fluid levels, ensures reliable performance. Understanding how the controller works is crucial for safe and effective towing with your Dodge Ram.

Safety Guidelines and Best Practices
Always disconnect the battery before installation. Ensure proper grounding and follow manufacturer guidelines. Regularly inspect wiring and connections. Test brakes before towing to guarantee safe operation and avoid potential hazards on the road.
Safety Precautions
When working with trailer brake controllers, prioritize safety to avoid accidents. Always disconnect the negative battery cable before starting installation to prevent electrical shocks or short circuits. Ensure the vehicle is on level ground and apply the parking brake. Properly ground the controller to avoid malfunctions. Never overload the trailer beyond the recommended weight capacity, as this can lead to brake failure. Regularly inspect the wiring and connections for damage or corrosion. Test the brakes in a safe, open area before towing to ensure they function correctly. Avoid sudden stops, as this can cause trailer skidding. If unsure about any step, consult a professional or the vehicle’s manual. Always follow the manufacturer’s guidelines for fuse and wire sizes to prevent fire hazards. Keep children and pets away during installation and testing. Remember, improper setup can lead to unsafe towing conditions, so attention to detail is crucial.

Dealer Involvement and Warranty
Dealer involvement may be necessary for certain aspects of trailer brake controller installation, particularly for OEM systems. Some Ram trucks require dealership programming to ensure proper integration with the vehicle’s electrical systems. If you install an OEM controller, the dealership may need to activate it using specialized tools. This ensures compatibility and maintains the truck’s warranty. Aftermarket controllers typically bypass the need for dealer involvement, but it’s crucial to verify compatibility with your vehicle’s make and model. Warranties for OEM controllers are usually valid only if installed by authorized dealers. Improper installation can void the warranty, so consulting a professional is recommended. Always check the manufacturer’s terms and conditions regarding warranty coverage for both OEM and aftermarket systems. Proper documentation and adherence to guidelines ensure your investment remains protected. Dealer involvement guarantees a seamless setup and maintains your vehicle’s warranty, providing peace of mind for years to come.