Welcome to the T6 Pro Installation Manual, your comprehensive guide for installing and configuring the T6 Pro Programmable Thermostat․ This manual ensures safe and proper installation, covering system requirements, wiring, and configuration steps․ Designed for both professionals and DIY enthusiasts, it provides detailed instructions to optimize your thermostat’s performance and ensure energy efficiency․ Follow the steps carefully to guarantee a seamless setup and troubleshooting process․
1․1 Overview of the T6 Pro Thermostat
The T6 Pro Programmable Thermostat is a cutting-edge heating and cooling system designed for compatibility with various HVAC setups․ It offers advanced programmable features, allowing users to set temperature schedules and optimize energy usage․ With its sleek design and user-friendly interface, the T6 Pro is ideal for modern homes and businesses․ It supports multiple operating modes, including heating, cooling, and hydronic control, ensuring versatility for different environments․ The thermostat is part of the Honeywell Home series, known for reliability and innovation․ Optional features like a cover plate enhance its aesthetic appeal․ Designed for both professionals and DIY enthusiasts, the T6 Pro delivers precise temperature control and seamless integration with smart home systems․
1․2 Importance of Proper Installation
Proper installation of the T6 Pro Thermostat is crucial for ensuring optimal performance, safety, and energy efficiency․ Incorrect installation can lead to mechanical failures, inefficient heating and cooling, and potential damage to your HVAC system․ Following the installation manual carefully guarantees that your thermostat operates as intended, maintaining consistent temperatures and reducing energy consumption․ Proper installation also ensures compliance with safety standards and manufacturer guidelines, preventing hazards like electrical issues or improper system control․ Additionally, a well-installed thermostat enhances user experience by providing accurate temperature control and seamless integration with smart home systems․ Always refer to the manual for step-by-step instructions to avoid common pitfalls and ensure a reliable setup․
System Requirements and Compatibility
This section outlines the necessary system requirements and compatibility checks for the T6 Pro thermostat, ensuring optimal performance with various HVAC systems and configurations․
2․1 Checking Compatibility with HVAC Systems
Before installation, verify the T6 Pro thermostat’s compatibility with your HVAC system․ Ensure your system supports the thermostat’s voltage and wiring requirements․ Check if your system is compatible with programmable thermostats and if it operates within the T6 Pro’s temperature range․ Refer to the HVAC system’s manual or manufacturer’s specifications to confirm compatibility․ Proper compatibility ensures seamless operation and avoids potential system issues․ Use the T6 Pro’s compatibility guide or consult a professional if unsure․ This step is crucial for optimal performance and energy efficiency, ensuring the thermostat integrates smoothly with your heating and cooling setup for reliable temperature control․
2․2 Understanding System Requirements
The T6 Pro thermostat requires specific system conditions for optimal performance․ Ensure your HVAC system supports programmable thermostats and verify the voltage requirements, typically 24V AC․ Check if your system has a common wire (C-wire) or if it’s compatible with a C-wire adapter․ The thermostat supports various heating and cooling configurations, including single-stage, multi-stage, and heat pump systems․ Ensure your system’s wiring matches the thermostat’s terminal connections․ Additionally, confirm compatibility with your home’s internet setup if using Wi-Fi features․ Meeting these system requirements ensures reliable operation and maximizes the thermostat’s energy-saving features․ Always refer to the T6 Pro’s specifications or consult a professional to avoid installation issues․
Mounting System Installation
Begin by ensuring the wall is level and secure․ Attach the mounting plate using appropriate wall anchors․ Snap the UWP onto the mounting plate, ensuring a stable base for the thermostat․ This step is crucial for proper installation and functionality․
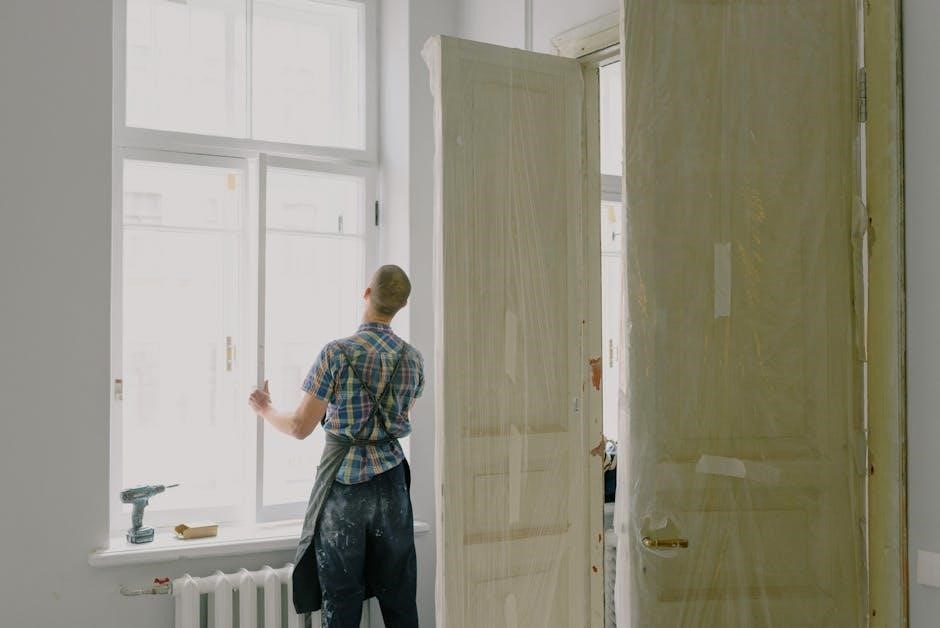
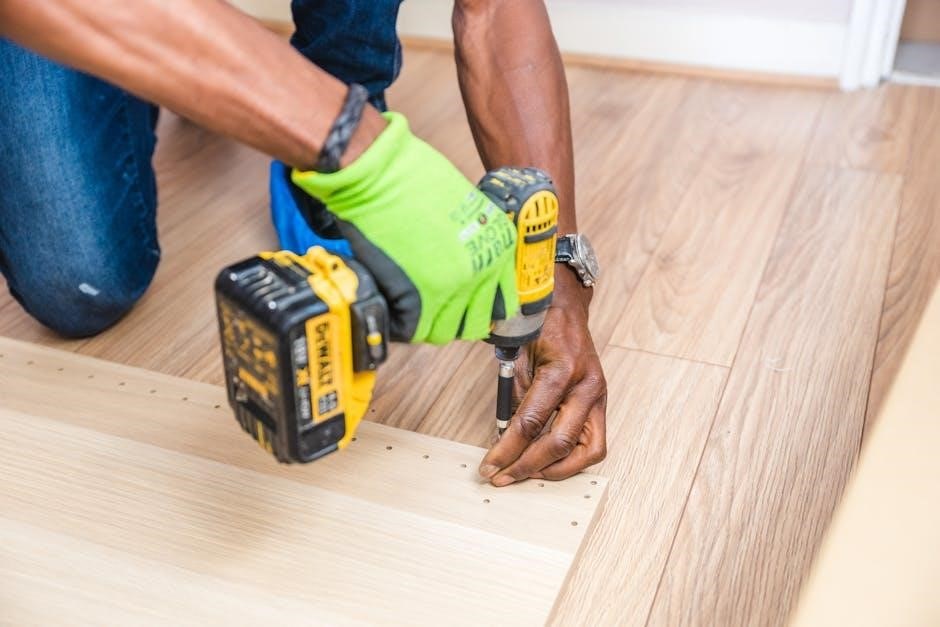
3․1 Preparing the Wall for Mounting
Before mounting, ensure the wall surface is clean, dry, and free from debris․ If using wall anchors, drill pilot holes in the wall at the specified locations․ Gently hammer the anchors into place until they are flush with the wall surface․ For brick or concrete walls, use appropriately sized screws and anchors․ Once the anchors are secure, align the mounting plate with the holes and mark the positions for accurate placement․ This preparation step ensures a stable and level base for the thermostat mounting system․
3․2 Attaching the Mounting Plate
Align the mounting plate with the wall anchors or screw holes, ensuring it is level․ Insert the screws provided through the plate’s holes and into the wall anchors․ Tighten the screws firmly but avoid over-tightening, which could damage the wall or plate․ Once the plate is securely attached, verify its levelness using a spirit level․ If necessary, adjust the screws slightly to achieve proper alignment․ Ensure the plate is stable and even before proceeding to the next steps․ This step is critical for ensuring the thermostat’s proper functioning and aesthetic appearance․ Once the plate is securely attached, you can proceed to install the thermostat unit․
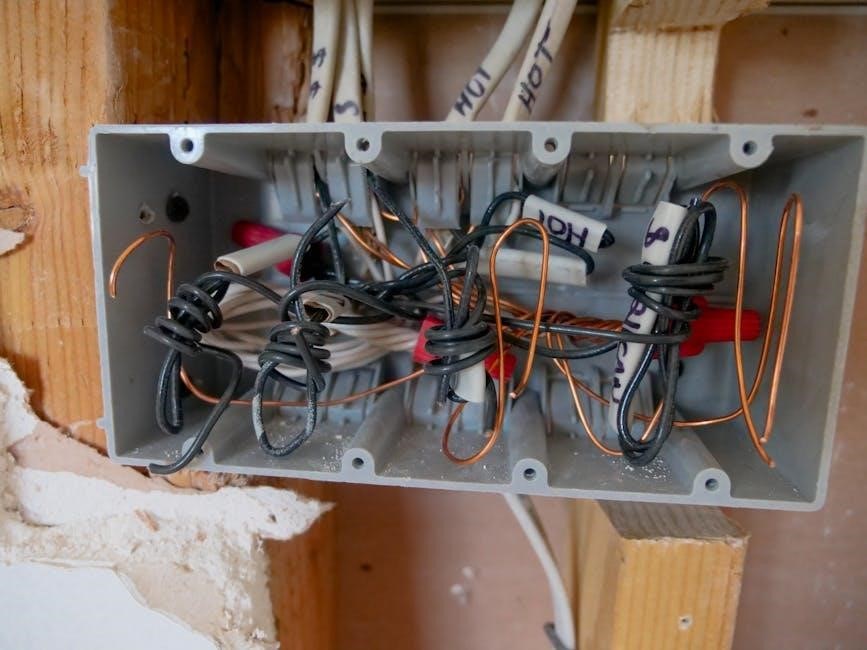
Wiring and Connections
Proper wiring is essential for the T6 Pro Thermostat to function correctly․ Identify and connect wires according to their labels and terminals, ensuring no loose connections․ Always refer to the manual for accurate wiring configurations to avoid system malfunctions․ Double-check all connections before powering on the system to ensure safety and performance․
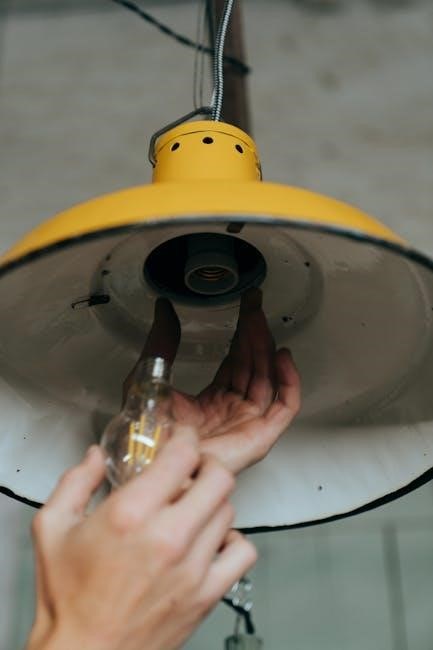
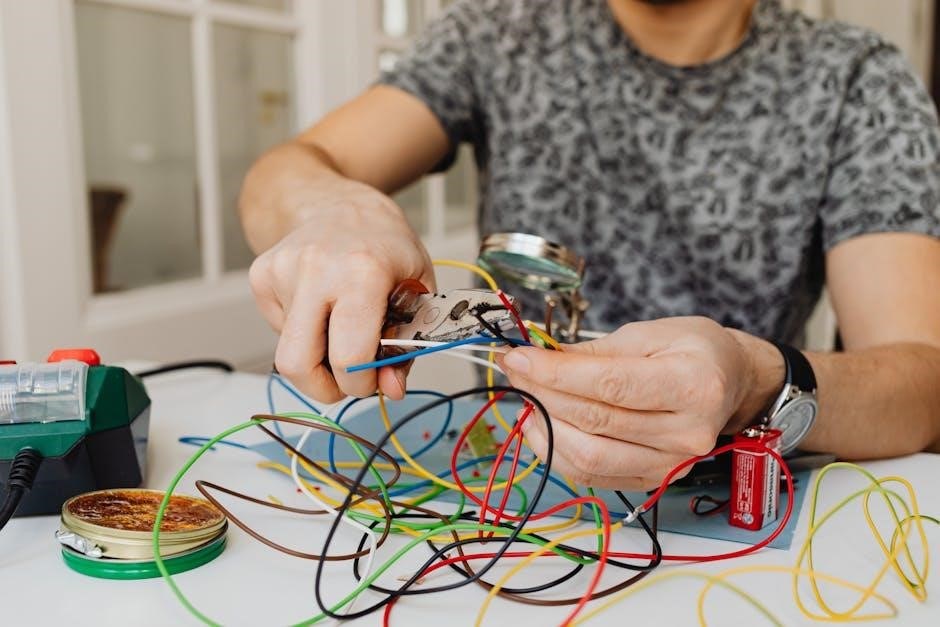
4․1 Identifying and Connecting Wires

Identifying and connecting wires accurately is crucial for the T6 Pro Thermostat to function properly․ Start by turning off the power supply to the HVAC system․ Locate the wires connected to your existing thermostat and label them according to their terminal labels (e․g․, R, W, Y, G, C, Rh)․ Refer to the manual for specific terminal assignments, as labels may vary․ Connect the wires to the corresponding terminals on the T6 Pro, ensuring secure and tight connections; If unsure, consult the wiring diagram in the manual or use the UWP mounting plate for simplified installation․ Always double-check connections before restoring power to avoid system malfunctions or safety hazards․
4․2 Ensuring Proper Wire Connections
After identifying and connecting the wires, verify their accuracy to ensure proper functionality․ Turn off the power supply to the HVAC system and use a voltage tester to confirm no live wires are present․ Refer to the wiring diagram in the manual to match each wire to its corresponding terminal on the T6 Pro․ Securely tighten all wire connections to prevent loose contacts․ Double-check that no wires are reversed or misplaced, as this could damage the system or cause malfunctions․ If unsure, consult the troubleshooting guide or contact a professional․ Proper wire connections are essential for the thermostat to operate efficiently and safely․
Thermostat Modes and Temperature Control
This section explains the thermostat’s operating modes and temperature control options․ Learn how to configure heating, cooling, and advanced settings for optimal performance and energy savings․
5․1 Setting Up Heating and Cooling Modes
To configure the T6 Pro’s heating and cooling modes, access the Installer Setup (ISU) menu․ Select between modes like A (heat only), AF (emergency heat), and F (cool only)․ Set temperature ranges and ensure compatibility with your HVAC system․ Use the Honeywell Home app for remote adjustments․ Proper setup ensures efficient operation and avoids system conflicts․ Refer to page 7 for detailed ISU options and follow on-screen instructions for a smooth configuration process․
5․2 Configuring Temperature Set Points
Configuring temperature set points on the T6 Pro ensures your system operates efficiently․ Access the Installer Setup (ISU) menu, typically found on page 11, and navigate to the “Temperature Set Points” or “Range Stop” section․ Set the minimum and maximum temperatures for both heating and cooling modes to prevent energy waste․ The Honeywell Home app allows remote adjustments for convenience․ Ensure your thermostat is connected to Wi-Fi for app functionality․ After setting, test the system to confirm it operates correctly within the specified ranges․ This step is crucial for optimal performance and energy savings․
Testing the System
After installation, test the T6 Pro by activating heating and cooling modes to ensure proper system response․ Verify temperature adjustments and confirm accurate set point achievement․
6․1 Running Initial System Tests
After completing the installation, perform initial system tests to ensure the T6 Pro thermostat operates correctly․ Start by powering on the system and verifying the thermostat display lights up․ Test both heating and cooling modes to confirm proper functionality․ Check if the system responds to temperature adjustments and reaches the set points accurately․ Verify that the thermostat transitions smoothly between modes and maintains consistent temperatures․ Additionally, test any optional features, such as remote access or scheduling, to ensure they function as intended․ These tests confirm that the installation was successful and the system is ready for everyday use․ Proper testing ensures reliability and efficiency․
Optional Cover Plate Installation
The optional cover plate enhances the T6 Pro’s appearance without affecting functionality․ Install it by snapping onto the mounting plate for a sleek finish․
7․1 Installing the Optional Cover Plate
To install the optional cover plate, start by ensuring the mounting plate is securely attached to the wall․ Next, align the cover plate with the mounting plate, ensuring proper fitment․ Snap the cover plate onto the mounting plate until it clicks securely into place․ Make sure it is evenly aligned and tightly fastened to avoid any gaps or misalignment․ The cover plate is designed for aesthetic purposes and does not affect the thermostat’s functionality․ Detailed steps are provided in the manual․ If the cover plate is not needed, refer to the UWP Mounting System instructions for alternative installation methods․