Cutting a round cake elegantly requires understanding techniques beyond simple slicing; precision ensures even portions and preserves visual appeal, enhancing the celebratory experience․
The Importance of Proper Cake Cutting
Proper cake cutting transcends mere division; it’s about honoring the baker’s efforts and maximizing enjoyment for guests․ A haphazard cut can result in uneven slices, with some receiving significantly more frosting or filling than others, leading to disappointment․ Precision ensures fairness and elevates the overall experience․
Furthermore, a clean cut preserves the cake’s aesthetic appeal․ Crumbling or smudged frosting detracts from the visual presentation, diminishing the celebratory atmosphere․ Techniques like warming the knife or utilizing templates, as suggested resources highlight, contribute to a polished result․ Ultimately, thoughtful cake cutting demonstrates respect for both the cake and those sharing it, transforming a simple dessert into a memorable moment․
Tools You’ll Need for Precise Cutting
Achieving precise cuts necessitates more than just enthusiasm; specific tools are crucial․ A long, serrated knife is paramount – its teeth grip the cake, minimizing crumbling․ Warming the blade with hot water, then drying it thoroughly, creates cleaner slices․ A non-slip mat beneath the cake prevents unwanted movement during cutting, enhancing control and safety․
For uniform portions, consider cake cutting templates or a ruler and marker for pre-marking guidelines․ Parchment paper circles, used for lining pans, can also aid in visualizing slice sizes․ Finally, a spatula or offset spatula is invaluable for tidying edges and transferring slices gracefully․ These tools, combined with patience, guarantee professional-looking results․
Preparing the Cake for Cutting
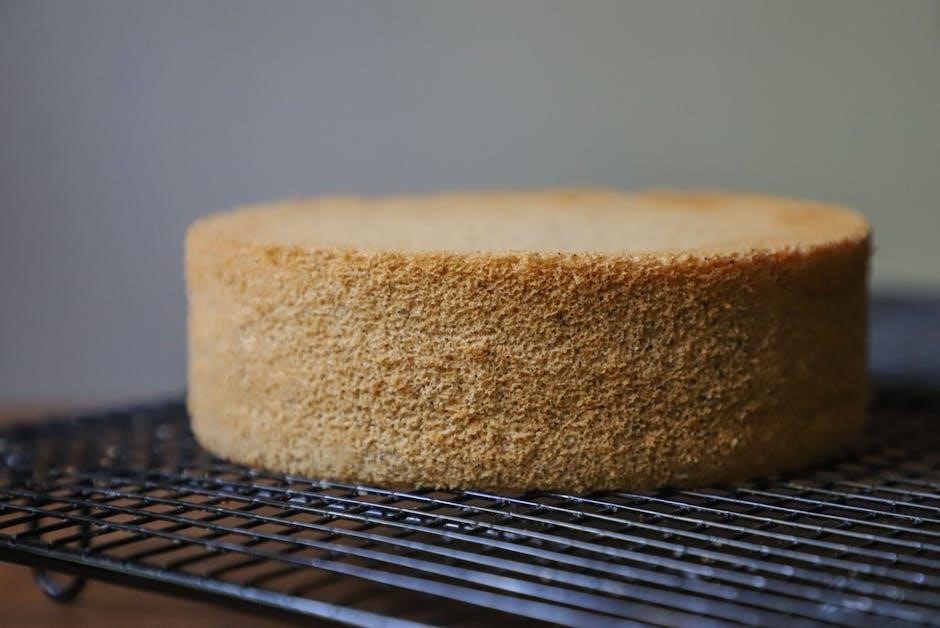
Proper preparation is key; ensure the cake is fully cooled and leveled for stability․ A crumb coat seals loose crumbs, creating a smooth surface for clean cuts․
Ensuring the Cake is Properly Cooled
Before even considering a knife, absolute cooling is paramount․ A warm cake will crumble and yield messy, uneven slices, ruining both presentation and portion control․ Allow ample time – ideally, several hours – for the cake to reach room temperature․ Placing it in the refrigerator for a short period can expedite cooling, but be mindful not to chill it excessively, as this can alter the texture․
A properly cooled cake holds its shape, allowing for clean cuts and preventing the frosting from melting and smudging․ Gently touch the cake; it should feel firm, not soft or yielding․ This step is often overlooked, but it’s foundational to achieving professional-looking results and a satisfying cake-eating experience․
Leveling the Cake Layers
Uneven layers create instability and make clean cutting incredibly difficult․ Leveling ensures a flat surface for even frosting distribution and prevents a leaning cake․ Use a long, serrated knife – a bread knife works well – to carefully trim any domes or high spots․ Rotate the cake slowly while holding the knife level, removing small amounts at a time․
Alternatively, a cake leveler tool provides a consistent and precise cut․ This step isn’t merely aesthetic; it’s crucial for structural integrity and achieving uniform slices․ A level cake is a happy cake, and a happy cake is easier to cut beautifully!
Applying a Crumb Coat (Optional)
A crumb coat, though optional, significantly aids in achieving clean cuts․ This thin layer of frosting seals in loose crumbs, preventing them from mixing into the final frosting layer during cutting․ Apply a thin, even coat, then chill the cake for at least 30 minutes to firm it up․
This chilling period is vital; a firm cake cuts much cleaner․ While not directly related to the cutting process, a crumb coat creates a smoother surface, making marking cutting lines easier and reducing frosting smudging during slicing․ It’s a preparatory step that elevates the final presentation․
Traditional Cake Cutting Methods
Classic techniques include the wedge method—simple, yet prone to uneven slices—and the grid method, offering uniform portions through precise, intersecting cuts․
The Wedge Method: A Classic Approach
The wedge method represents the most intuitive and historically common approach to cutting round cakes․ It involves dividing the cake into equal sections, resembling slices of pie, radiating from the center․ While straightforward, achieving truly uniform portions with this method can be challenging, particularly with larger cakes․ Initial cuts should begin at the cake’s center, extending outwards to the edge, and subsequent cuts should aim for consistent angles․
However, slices closer to the center tend to be smaller than those at the perimeter․ To mitigate this, consider starting with a smaller central wedge and gradually increasing the angle of each subsequent cut; This technique is best suited for informal gatherings where precise portion control isn’t paramount, offering a quick and easy solution for serving cake․
The Grid Method: For Uniform Servings
The grid method offers superior precision for achieving consistently sized cake servings․ Begin by cutting the round cake in half, creating two semi-circles․ Then, cut each half in half again, resulting in four quadrants․ Continue bisecting each quadrant until you reach the desired number of slices – eight, twelve, or even sixteen․ This systematic approach ensures that all pieces are roughly equal in size and shape, minimizing disputes over portion fairness․
For enhanced accuracy, especially with larger cakes, consider using a ruler or cake cutting templates to guide your cuts․ This method is ideal for formal events or when serving a specific number of guests, guaranteeing everyone receives an equitable portion of the delicious treat․
Advanced Cutting Techniques
Mastering advanced methods like the “push back” technique and utilizing templates elevates cake presentation, ensuring even frosting distribution and perfectly shaped rectangular slices․
Cutting for Even Distribution of Frosting & Filling
Achieving consistent slices with ample frosting and filling necessitates strategic cutting․ Instead of traditional wedge cuts, consider dividing the round cake in half initially․ Subsequently, cut rectangular slices from this central portion; this allows for a “push back” action, ensuring each piece receives a proportionate amount of the delicious layers within․
This method is particularly effective for cakes boasting generous fillings like fruit compotes or rich creams․ By prioritizing a balanced distribution, you guarantee every guest enjoys a complete and satisfying bite․ Remember to use a long, sharp knife and gentle pressure for clean cuts, preserving the cake’s structural integrity and aesthetic appeal․
The “Push Back” Method for Rectangular Slices
The “push back” technique revolutionizes round cake cutting, moving beyond simple wedges․ Begin by cutting the cake directly in half, creating two semi-circles․ Then, instead of slicing outwards, cut rectangular portions from the center, pushing the cut slice back towards the center as you go․ This ensures each serving contains a delightful balance of cake, frosting, and any included fillings․
This method is ideal for maximizing enjoyment, guaranteeing every guest receives a complete experience․ It’s particularly useful when the cake has varied layers or a substantial filling․ Employ a long, sharp knife and a gentle, controlled motion for clean, professional-looking slices․
Using Cake Cutting Templates
For consistently uniform slices, cake cutting templates are invaluable tools․ These templates, often made of plastic or sturdy cardstock, are placed on top of the cake, outlining the desired slice size and shape․ Simply trace around the template with a sharp knife, ensuring a clean cut through all layers․
Templates are especially helpful for large gatherings where precise portion control is desired․ They eliminate guesswork and guarantee each guest receives an equal serving․ After initial cuts, templates can be repositioned to continue creating identical slices․ Remember to use a non-slip mat underneath for stability!
Serving Size & Guest Count Considerations
Accurate guest counts dictate cake size and slice dimensions; a standard 8-inch round typically serves 16, but adjusting slice size is crucial for events․
Cake Sizes and Approximate Servings
Determining the appropriate cake size hinges on your guest list and desired serving style․ A 6-inch round cake generally yields 8-12 servings, ideal for intimate gatherings․ Scaling up to an 8-inch round comfortably serves 16 guests, making it a popular choice for medium-sized celebrations․ For larger events, a 10-inch round can provide 24-32 portions, while a substantial 12-inch cake caters to 32-48 people․
These are, however, approximate guidelines․ Slice size significantly impacts the total servings․ Traditional wedge cuts offer generous portions, whereas a grid method allows for smaller, more refined servings, increasing the overall yield․ Consider your audience and the event’s formality when deciding on portion sizes to ensure everyone enjoys a delightful piece!
Adjusting Slice Size Based on Event
The event’s nature dictates appropriate slice sizes․ Formal events, like weddings, often benefit from smaller, elegant portions, allowing guests to sample the cake alongside other desserts․ Conversely, casual gatherings, such as birthdays, typically call for more generous slices to satisfy a sweet craving․
Children’s parties often require smaller portions to minimize waste and accommodate little appetites․ If the cake is a focal point, smaller slices encourage guests to savor each bite․ Conversely, if it’s part of a larger dessert spread, larger slices are acceptable․ Always consider the overall menu and guest preferences when determining slice size for a truly enjoyable experience․
Specific Cake Types & Cutting Adjustments
Different cake compositions—layers, fillings, or delicate decorations—demand tailored cutting approaches to maintain structural integrity and presentation quality during serving․
Cutting Cakes with Multiple Layers
When tackling multi-layered round cakes, a gentle yet firm hand is crucial․ Begin by lightly marking the desired slice width across the top of the cake․ Employ a long, serrated knife and use a gentle sawing motion, avoiding excessive pressure that could compress the layers․ Rotate the cake slowly while maintaining a consistent cutting angle․
For taller cakes, consider cutting down only through the top layer initially, then repeating for subsequent layers․ This prevents the entire cake from shifting and ensures cleaner slices․ Supporting the sides with your hand can also provide stability․ Remember to wipe the knife clean between each slice to maintain neatness and prevent frosting transfer, ultimately delivering visually appealing portions․
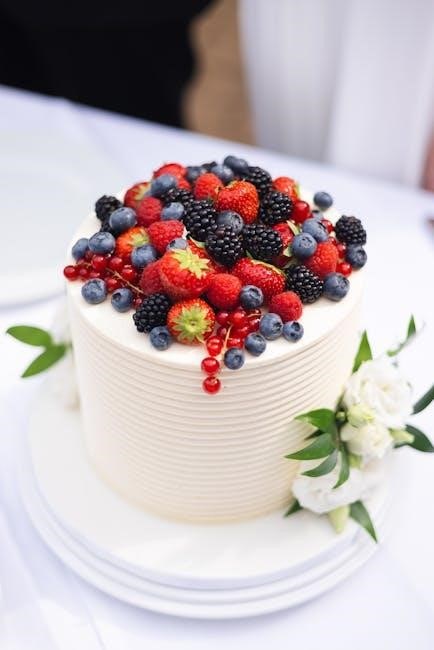
Cutting Cakes with Fillings (Fruit, Cream, etc․)
Cakes adorned with fillings—fruit, cream, or otherwise—demand a slightly modified approach․ The key is to minimize displacement of the filling during the cutting process․ Utilize a warm, sharp knife; the warmth helps glide through the filling without dragging․ Employ a gentle sawing motion, rather than pressing straight down, to avoid squashing the delicate layers․
Consider chilling the cake briefly before cutting, especially if the filling is soft․ This firms up the filling, making for cleaner slices․ Wipe the knife after each cut to prevent filling from smearing across the cake’s surface, ensuring a polished presentation and preserving the structural integrity of each portion․
Cutting Cakes with Delicate Decorations
Cakes featuring intricate decorations—sugar flowers, piped details, or delicate frosting work—require utmost care during cutting․ Prioritize preserving the visual artistry alongside portioning․ A very sharp, thin-bladed knife is essential to minimize disruption․ Plan your cuts strategically, avoiding direct contact with prominent decorations whenever possible․
Consider removing particularly fragile elements before cutting and repositioning them on individual slices for presentation․ Gentle, deliberate movements are crucial; avoid rushing․ Wipe the knife frequently to maintain clean lines and prevent smudging․ Remember, the goal is to showcase both taste and artistry!
Troubleshooting Common Cutting Issues
Addressing crumbling, smudging, or uneven cuts requires a sharp knife, chilled cake, and gentle pressure; practice makes perfect for flawless slices!
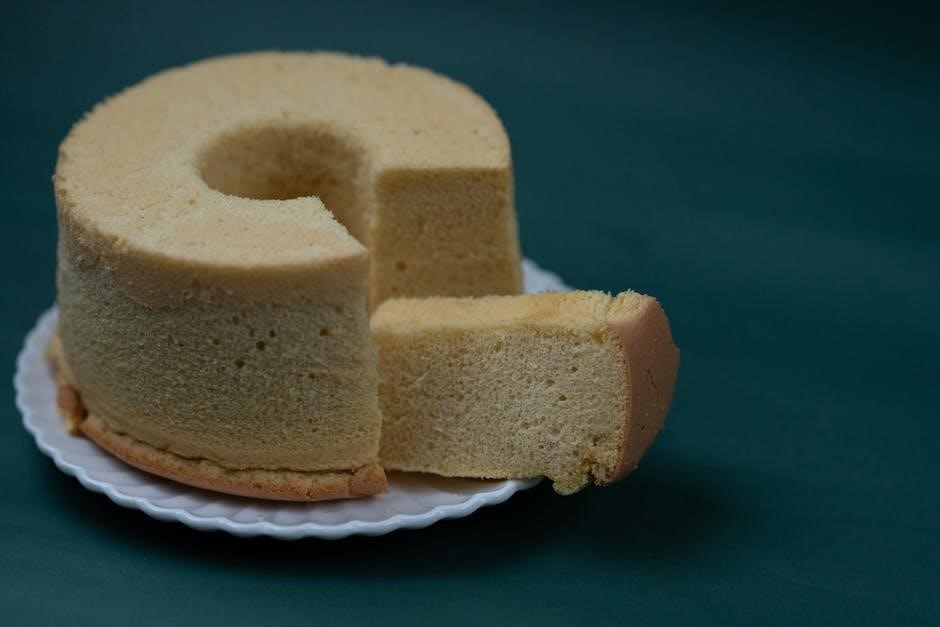
Dealing with Crumbling Cakes
Crumbling can be a frustrating issue when cutting a cake, especially delicate sponge or chiffon varieties․ The key is minimizing disturbance to the cake’s structure․ Ensure your knife is exceptionally sharp – a dull blade requires more pressure, exacerbating the problem․ Chill the cake thoroughly; a colder cake holds its shape better․
Use a gentle sawing motion rather than pressing straight down․ Clean the knife blade after each cut to prevent crumbs from dragging and causing further damage․ Consider warming the knife slightly with hot water and drying it before each slice; this helps it glide through more cleanly․ If significant crumbling occurs, a crumb coat can provide extra stability, and strategically placed frosting can conceal minor imperfections․
Preventing Frosting Smudging
Frosting smudging during cake cutting detracts from presentation․ A clean, sharp knife is paramount; wipe it after every slice to remove accumulated frosting․ Chilling the cake firms up the frosting, making it less prone to smearing․ Warm the knife blade briefly in hot water, then dry it thoroughly before each cut – a warm knife glides through frosting more easily․
Avoid dragging the knife across the frosting; lift and slice cleanly․ For intricate designs, consider using a bench scraper or offset spatula to gently support the frosting as you cut․ A light touch and deliberate movements are crucial for maintaining a polished look and preventing unsightly smudges․
Fixing Uneven Cuts
Uneven cuts happen, but are easily remedied! A small offset spatula can subtly reshape slices, evening out heights and creating a more uniform appearance․ If a slice is significantly smaller, carefully trim a sliver from an adjacent piece and attach it with a dab of frosting․ For ragged edges, gently smooth with a warm, damp knife or spatula․
Don’t strive for absolute perfection; minor imperfections are forgivable․ Focus on ensuring each slice contains a proportional amount of cake, frosting, and filling․ Presentation matters, but taste is paramount – a slightly imperfect slice still tastes delicious!
Knife Selection & Maintenance
Choosing a long, thin-bladed knife is crucial; a serrated knife works well, and regular sharpening ensures clean cuts, preventing cake damage and frosting smearing․
Choosing the Right Knife for the Job
Selecting the appropriate knife dramatically impacts the final presentation and ease of serving․ A long, thin-bladed knife is generally preferred for round cakes, offering greater control and cleaner slices․ Serrated knives excel at navigating through delicate cake layers and sticky frostings without causing excessive crumbling․ Avoid using short or overly thick knives, as they can compress the cake and lead to uneven cuts․
Furthermore, a warm knife – gently warmed under hot water and dried thoroughly – can glide through chocolate ganache or firm frostings with minimal resistance․ However, ensure the knife isn’t too hot to melt the frosting excessively․ Ultimately, the ideal knife provides a smooth, consistent cutting motion, preserving the cake’s structural integrity and aesthetic appeal․
Keeping Your Cake Knife Sharp
Maintaining a sharp blade is crucial for achieving clean, professional-looking cake slices․ A dull knife requires more pressure, leading to squashed cake and torn frosting․ Regularly honing your cake knife with a honing steel realigns the blade’s edge, restoring its sharpness between sharpenings․ For significant dullness, professional sharpening is recommended․
Avoid abrasive cleaning methods like dishwashers, which can dull the blade over time․ Hand washing with mild soap and careful drying are best practices․ Proper storage, such as in a knife block or with a blade guard, also protects the edge․ A sharp knife ensures effortless cutting and a beautiful presentation;

Presentation & Plating
Artful arrangement of slices and thoughtful garnishing elevate the cake experience, transforming a simple dessert into a visually stunning and memorable centerpiece․
Arranging Slices Attractively
Consider the serving platter’s size and shape when arranging cake slices; a circular platter naturally complements round cake portions․ Overlapping slices slightly can create a bountiful, inviting look, while maintaining clear separation prevents a messy presentation․ Varying the angle of each slice adds visual interest, avoiding a monotonous, uniform appearance․
For a more formal setting, arrange slices in a radiating pattern, resembling the original cake․ Alternatively, a staggered arrangement offers a relaxed, contemporary feel․ Don’t overcrowd the platter; leave enough space for easy access and to showcase the cake’s layers and frosting․ A touch of symmetry can enhance the overall aesthetic, but don’t be afraid to embrace a slightly asymmetrical, organic arrangement for a more natural look․
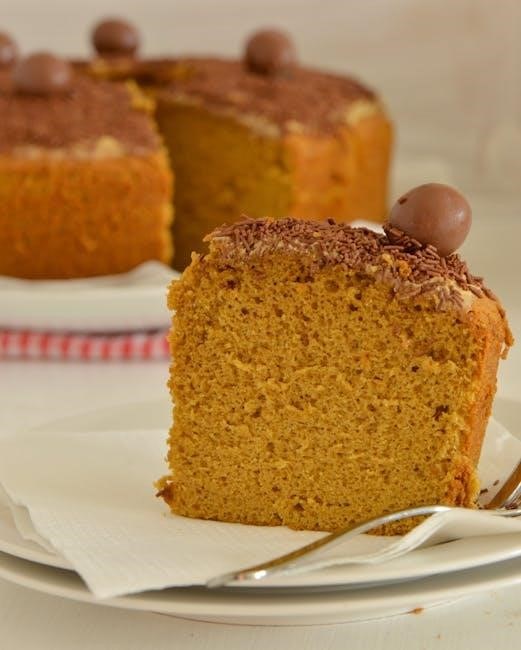
Garnishing Cake Slices
Elevate each slice with a delicate garnish, complementing the cake’s flavor profile․ Fresh berries – raspberries, strawberries, or blueberries – add a pop of color and freshness․ A sprig of mint provides a vibrant green contrast and subtle aroma․ A dusting of powdered sugar offers a classic, elegant touch․
For chocolate cakes, consider a chocolate curl or a small square of dark chocolate․ A swirl of whipped cream or a dollop of frosting can enhance the visual appeal and add extra sweetness․ Edible flowers provide a sophisticated and artistic garnish․ Ensure garnishes are proportionate to the slice size and don’t overwhelm the cake itself․ A simple, well-placed garnish can transform a slice into a miniature work of art․
Sustainable Practices in Cake Cutting
Minimize waste by accurately estimating slice sizes and utilizing leftover cake creatively; eco-friendly serving tools further reduce environmental impact during celebrations․
Minimizing Waste
Effective cake cutting significantly reduces waste, a crucial aspect of sustainable practices․ Begin by carefully planning slice sizes based on your guest count, avoiding overly generous portions that often end up discarded․ Consider utilizing cake cutting templates to ensure consistent and accurate cuts, maximizing the usable cake․
Don’t overlook the potential of leftover cake! Crumbs and smaller pieces can be repurposed into delightful treats like cake pops, trifles, or even incorporated into ice cream․ Encourage guests to take smaller portions if they prefer, and offer containers for taking leftovers home․ Thoughtful planning and creative repurposing transform potential waste into enjoyable extensions of the celebration․
Using Eco-Friendly Serving Tools
Embrace sustainability by selecting eco-friendly serving tools for your cake․ Opt for reusable cake knives and servers made from bamboo, wood, or stainless steel, avoiding disposable plastic options․ Consider using compostable or reusable cake boards instead of traditional cardboard ones․
When offering slices, provide guests with reusable plates and cutlery, or choose compostable alternatives made from plant-based materials․ Linen napkins are a stylish and sustainable choice over paper napkins․ Prioritizing these small changes demonstrates a commitment to reducing environmental impact while still enjoying a beautiful and delicious cake experience․