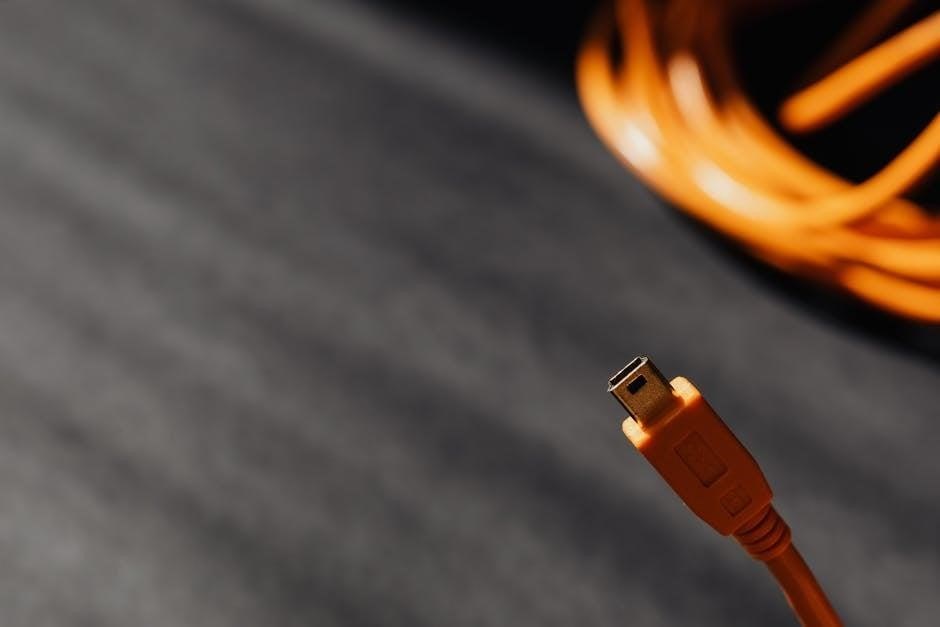
The Yocan Ziva requires a USB Type-C cable for safe charging. Connect it to a wall adapter, ensuring a secure link. The 650mAh battery offers reliable power, charging quickly to prolong life and enhance vaping sessions.
Understanding the Yocan Ziva Device
The Yocan Ziva is a portable, rechargeable vape mod designed for 510-threaded cartridges. It features a 650mAh battery, offering reliable power for on-the-go vaping experiences.
Key Features of the Yocan Ziva
The Yocan Ziva boasts a compact, portable design, making it ideal for discreet vaping. It uses a 510-threaded connection, compatible with most vape cartridges. The device features a 650mAh battery, offering extended use on a single charge. It includes a USB-C port for quick and efficient charging, ensuring minimal downtime. The Yocan Ziva also has an anti-touch button for voltage adjustment, allowing users to customize their vaping experience by selecting from three voltage settings. Its sleek design and robust battery life make it a popular choice among vaping enthusiasts seeking convenience and performance.
Importance of Proper Charging
Proper charging is essential for maintaining the Yocan Ziva’s performance and longevity. Using the correct USB-C cable ensures safe and efficient charging, preventing damage to the battery. Overcharging can reduce battery life, so it’s crucial to avoid leaving the device plugged in for extended periods. Always use a compatible wall adapter to maintain the correct power supply. By following these guidelines, you can maximize the lifespan of your Yocan Ziva, ensuring reliable operation and optimal vaping experiences. Regularly monitoring the charging process helps prevent potential issues, keeping your device in prime condition.
Charging Instructions for Yocan Ziva
Use a USB-C cable to charge the Yocan Ziva. Connect the cable to a wall adapter or computer, then plug it into the device’s charging port for a secure, stable charge.
Using a USB Type-C Charging Cable
Charging the Yocan Ziva requires a USB Type-C cable for optimal safety and efficiency. Connect one end of the cable to a compatible wall adapter or computer port, ensuring a secure fit. Plug the other end into the Yocan Ziva’s USB-C charging port, located at the base of the device. The LED light will illuminate, indicating the charging process has begun. Allow the device to charge fully, typically taking 1-2 hours. Avoid using damaged cables or adapters to prevent damage. Always monitor the charging progress to ensure it doesn’t overcharge, as this can reduce battery life. Proper use of the USB-C cable ensures reliable performance.
Connecting the Charging Cable
To connect the USB Type-C charging cable to the Yocan Ziva, align the cable with the device’s charging port, ensuring proper orientation for a secure fit. Gently insert the cable into the port until it clicks or feels snug, confirming a stable connection. Make sure the cable is fully seated to avoid loose connections, which can disrupt charging. Once connected, plug the other end of the cable into a compatible power source, such as a wall adapter or computer USB port. The LED indicator on the Yocan Ziva will illuminate, signaling the start of the charging process. Always ensure the device is placed upright during charging to prevent any potential issues.
Safety Tips for Charging
Always use a compatible USB Type-C cable and wall adapter. Avoid overcharging and never charge near flammable materials. Ensure the device is on a stable surface while charging.
Avoiding Overcharging
To maintain the Yocan Ziva’s battery health, avoid overcharging. Use a USB Type-C cable and compatible wall adapter to prevent damage. Charge for 2-3 hours maximum, as overcharging can degrade the 650mAh battery. Monitor the charging process and disconnect once the battery is full. Never leave the device charging unattended or overnight, as this can cause overheating. Always ensure the device is turned off while charging to minimize strain on the battery. Proper charging habits will extend the lifespan of your Yocan Ziva and ensure optimal performance for vaping sessions.
- Use the correct USB Type-C cable and adapter.
- Charge for 2-3 hours maximum.
- Monitor charging progress.
- Avoid overnight charging.
Using the Correct Wall Adapter
Using the correct wall adapter is crucial for safely charging the Yocan Ziva. Choose a high-quality USB Type-C compatible adapter that matches the device’s specifications to avoid damage or malfunction. Ensure the adapter is certified by reputable organizations to meet safety standards. Avoid using low-quality or generic adapters, as they may cause overheating or fail to charge the battery properly. Always check the adapter’s power output to ensure it aligns with the Yocan Ziva’s requirements. Using the right adapter prevents electrical issues and ensures efficient charging, prolonging the device’s lifespan. For optimal performance, use the adapter provided by Yocan or a trusted brand.
- Use a USB Type-C compatible adapter.
- Ensure the adapter meets safety certifications.
- Avoid low-quality or generic adapters.
- Check the adapter’s power output;
Charging Process
Connect the USB Type-C cable to a wall adapter, then plug it into the Yocan Ziva’s charging port. The 650mAh battery charges efficiently, ensuring a reliable vaping experience.
Step-by-Step Charging Guide
Connect the USB Type-C cable to a compatible wall adapter or power source. Ensure the adapter is certified for safety and efficiency.
Plug the other end of the cable into the Yocan Ziva’s charging port, located at the base of the device.
The device will automatically start charging. Monitor the charging progress via the LED indicator or OLED screen if available.
Allow the battery to charge fully, which typically takes 1-2 hours, depending on the power source.
Once fully charged, disconnect the cable to avoid overcharging and prolong battery life.
Your Yocan Ziva is now ready for use, providing a reliable and enjoyable vaping experience.
Monitoring the Charging Progress
The Yocan Ziva features an LED indicator that illuminates during charging. The light typically turns red when charging and switches to green once fully charged. For models with an OLED screen, the battery percentage is displayed, allowing precise monitoring. Always keep the device in sight while charging to avoid overheating. Once the battery reaches 100%, unplug the cable to prevent overcharging. This ensures optimal battery health and safety. By monitoring the charging progress, you can ensure a safe and efficient charging experience for your Yocan Ziva.
Post-Charging Setup
After charging, press the power button five times to turn on the Yocan Ziva. Ensure the device is ready for vaping by checking the OLED display or LED indicators.
Turning On the Device
To activate the Yocan Ziva, press the power button five times rapidly. The OLED screen will illuminate, and LED indicators will signal successful startup. Ensure the device is fully charged for optimal performance. The intuitive design allows quick access to voltage settings, enabling a personalized vaping experience. Safety features like overcharge protection ensure reliable operation. Once powered on, the device is ready for use, providing a seamless and efficient vaping experience with its robust battery life and advanced controls.
Preparing for Vaping
To prepare for vaping, attach a 510-threaded cartridge to the Yocan Ziva, ensuring compatibility with atomizers above 0.8 ohms for optimal performance. Adjust voltage settings between 1.8V and 4.2V by clicking the power button four times to customize your experience. Clean the cartridge and port with isopropyl alcohol to remove any residue and maintain functionality and flavor quality. Proper preparation ensures a smooth and enjoyable vaping session with the Yocan Ziva.
Maintenance and Troubleshooting
Regularly clean the Yocan Ziva with isopropyl alcohol to remove residue and ensure optimal performance. Address common issues like connectivity problems promptly to maintain functionality and extend device life.
Cleaning the Device
Regular cleaning is essential for maintaining the Yocan Ziva’s performance. Use isopropyl alcohol to wipe down the cartridge and charging port, removing any residue or debris. This ensures proper connectivity and prevents clogs. Gently dab the alcohol onto a soft cloth and avoid soaking the device. Cleaning regularly enhances flavor quality and prevents malfunction. Always allow the device to dry completely before reuse. Proper maintenance extends the lifespan of the Yocan Ziva and ensures optimal vaping experiences. By keeping the device clean, you maintain its efficiency and reliability for consistent performance over time.
Resolving Common Charging Issues
If the Yocan Ziva fails to charge, check the USB Type-C cable and port for blockages or damage. Ensure the cable is properly connected to both the device and the power source. Clean the charging port with isopropyl alcohol to remove residue. Avoid using faulty or incompatible cables, as they may cause charging issues. If problems persist, reset the device by pressing the power button five times quickly. For persistent issues, contact customer support or refer to the manufacturer’s troubleshooting guide. Addressing these common problems ensures uninterrupted use and maintains the device’s functionality for optimal vaping sessions.
Properly charging your Yocan Ziva ensures optimal performance and longevity. Use a USB Type-C cable, avoid overcharging, and clean the port regularly. Follow these guidelines to maximize battery life and enhance your vaping experience. By adhering to the instructions, you’ll enjoy reliable power and consistent flavor delivery from your device. Always prioritize safety and maintenance for the best results with your Yocan Ziva.
