Moen One-Handle Pullout Kitchen Faucet Manual: A Comprehensive Guide
This detailed manual provides essential guidance for owners of Moen one-handle pullout kitchen faucets, covering installation, operation, maintenance, and troubleshooting procedures.
Understanding Your Moen Faucet
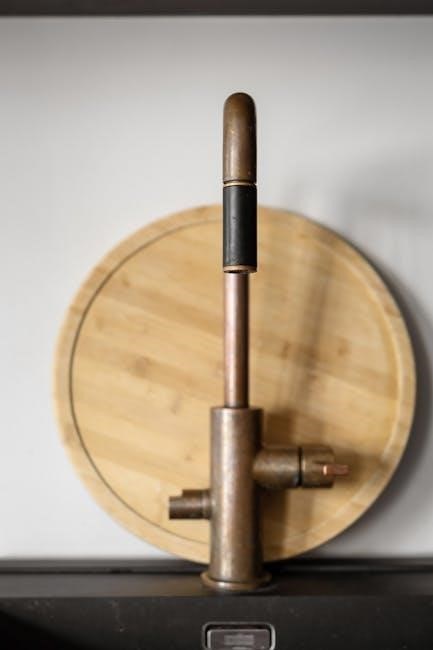
Moen one-handle pullout kitchen faucets represent a blend of innovative design and reliable functionality, offering convenience and style to your kitchen space. These faucets are engineered for durability, utilizing high-quality materials to withstand daily use and resist corrosion. The single-handle operation allows for effortless control of both water temperature and flow, simplifying tasks like filling pots and rinsing dishes.
The pullout sprayer adds versatility, extending your reach for cleaning and food preparation. Understanding the core components – including the handle, spout, hose, and sprayer head – is crucial for proper maintenance and troubleshooting. Familiarizing yourself with these elements will empower you to address minor issues and prolong the lifespan of your Moen faucet. This guide aims to provide a comprehensive overview, ensuring you maximize the benefits of your kitchen fixture.
Faucet Model Identification
Accurate identification of your Moen one-handle pullout kitchen faucet model is paramount for accessing the correct documentation and replacement parts. Moen utilizes a diverse range of designs and features across its product lines. The model number is typically located on the underside of the faucet, often stamped onto the base or on a sticker.
Locating this number allows you to pinpoint specific diagrams, installation guides, and troubleshooting resources tailored to your exact faucet. Without the correct model number, finding compatible parts or understanding unique features can be challenging. Referencing the Moen website or contacting their customer support with the model number will ensure you receive accurate assistance. Keep this number readily available for future maintenance or repair needs, streamlining the process and ensuring compatibility.
Key Components & Parts Diagram
Understanding the core components of your Moen one-handle pullout kitchen faucet is crucial for both installation and future repairs. Key parts include the handle itself, controlling water flow and temperature, the cartridge regulating mixing, and the pullout sprayer assembly. The water supply lines connect to the faucet body, delivering hot and cold water.
The pullout hose, a flexible conduit, extends the sprayer’s reach. An aerator, fitted to the spout, mixes air into the water stream. A detailed parts diagram, often found within the manual or on the Moen website, visually identifies each component. Familiarizing yourself with this diagram simplifies troubleshooting and ensures you order the correct replacement parts when needed. Proper identification prevents incorrect installations and maintains optimal faucet performance.

Installation & Setup
Proper installation ensures optimal performance and longevity of your Moen faucet. This section details the necessary steps for a secure and functional setup in your kitchen.
Initial Installation Steps
Before beginning, carefully unpack your Moen faucet and verify all components are present, referencing the parts diagram. Ensure the sink surface is clean and free of debris.
Begin by inserting the faucet shank through the designated hole in the sink. From underneath, secure the faucet with the mounting hardware – typically a mounting nut and friction washer – tightening firmly by hand. Avoid using tools initially to prevent damage.
Next, attach the escutcheon plate (if included) to the faucet base, ensuring a snug fit. This plate covers the mounting hardware and provides a finished appearance.
Crucially, apply plumber’s putty around the base of the faucet where it meets the sink to create a watertight seal. This prevents water from seeping under the faucet and causing damage. Double-check all connections for stability before proceeding to the water supply line attachment.
Connecting Water Supply Lines
Prior to connecting, shut off the main water supply to prevent flooding. Identify the hot and cold water supply lines – typically marked with red and blue indicators. Attach the appropriate supply line to the corresponding inlet on the faucet tailpieces.
Use adjustable wrenches to tighten the connections, but avoid over-tightening, which can damage the fittings. Ensure a firm, leak-proof seal is established. Consider using Teflon tape on the threads for added security.
Connect the other ends of the supply lines to the angle stops under the sink. Again, tighten securely but cautiously. Slowly turn the main water supply back on, carefully inspecting all connections for leaks.
If leaks are detected, immediately shut off the water and re-tighten the connections. Persistent leaks may indicate damaged supply lines or fittings, requiring replacement.
Attaching the Pullout Hose
Begin by carefully inserting the pullout hose into the designated connection point on the faucet body. This connection is usually located beneath the spout. Ensure the hose is fully seated and clicks securely into place – a positive locking mechanism is common.
Next, check the hose’s range of motion, gently pulling it out and retracting it several times to confirm smooth operation. Verify that the hose doesn’t kink or bind during retraction. The weight should move freely along the hose to facilitate retraction.
Inspect the hose connection for any signs of leakage after extending and retracting. If leaks are present, disconnect the hose and re-seat it, ensuring a proper connection. A secure connection is vital for preventing water damage.
Finally, test the sprayer function to confirm water flow through the pullout hose is unobstructed and consistent.

Operation & Usage
This section details how to effectively use your Moen faucet, including activating the pullout sprayer, adjusting water temperature, and controlling water flow.
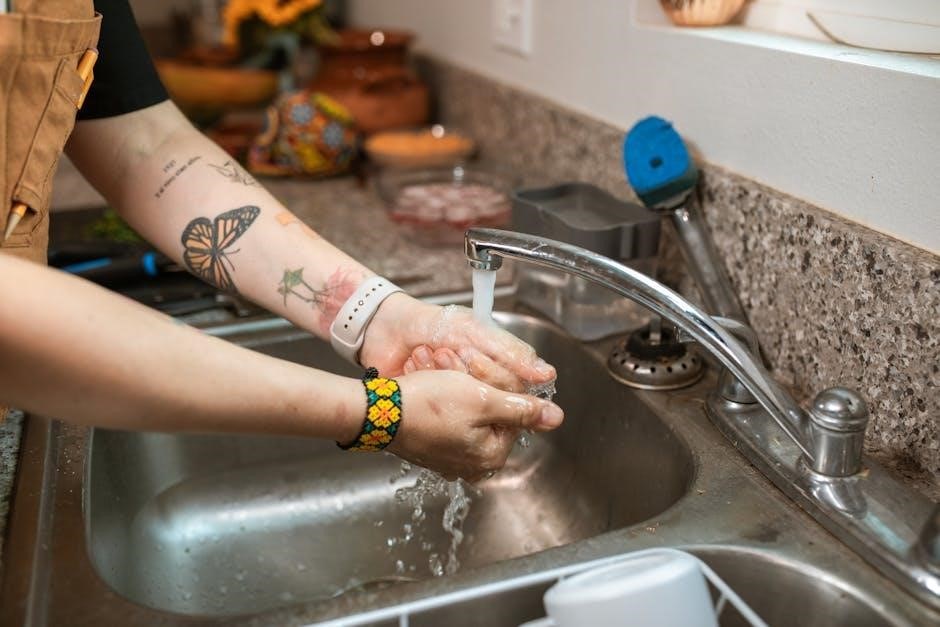
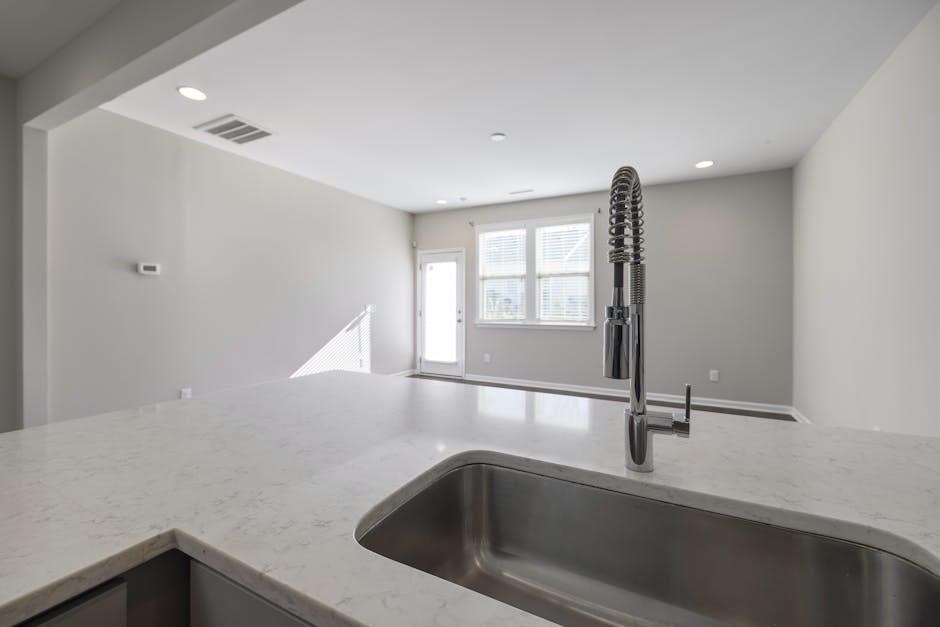
Activating the Pullout Sprayer
The pullout sprayer on your Moen one-handle kitchen faucet offers enhanced functionality for rinsing dishes and cleaning the sink area. To activate the sprayer, gently pull the spray head out of the spout. A click will often be audible, indicating it’s engaged.
The sprayer provides two distinct spray patterns: a steady stream for efficient rinsing and an aerated spray for wider coverage. Switch between these patterns by pressing the button located on the spray head.
When finished, the sprayer will automatically retract with a gentle pull. Ensure the hose retracts smoothly; avoid forcing it. The hose is designed with a weighted mechanism to ensure complete retraction. If retraction is slow, check for kinks or obstructions. Regular use will maintain optimal sprayer performance, providing convenient and versatile water delivery.
Adjusting Water Temperature
Your Moen one-handle faucet allows for precise temperature control with a simple lever movement. Moving the handle to the left delivers colder water, while moving it to the right provides warmer water. The further you move the handle in either direction, the more extreme the temperature becomes.
Finding your desired temperature is intuitive; a moderate position typically yields lukewarm water. Be cautious when initially adjusting, as water temperature can change rapidly.
Moen faucets are designed to prevent scalding, but it’s always wise to test the water temperature before fully immersing your hands. Consistent water temperature relies on your home’s water heater settings. If temperature fluctuations occur, consult a qualified plumber to inspect your water heater. Enjoy comfortable and customized water temperatures with your Moen faucet.
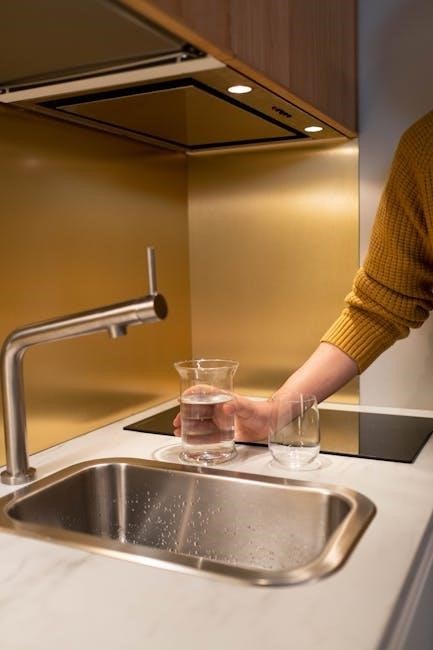
Controlling Water Flow Rate
The water flow rate of your Moen one-handle pullout kitchen faucet is directly linked to the handle’s vertical position. Lifting the handle upwards increases the water flow, providing a stronger stream for tasks like filling pots or rinsing dishes. Lowering the handle reduces the flow, conserving water for lighter duties like a quick glass fill.
You’ll find a smooth and responsive control, allowing you to easily adjust the flow to your needs. Some models feature a flow-rate limiter, which can be adjusted to further restrict water usage.
Observe the water stream to gauge the flow rate; a full, powerful stream indicates maximum flow, while a gentle trickle signifies minimal flow. Consistent flow depends on water pressure in your home. If you experience significantly reduced flow, check for aerator obstructions.
Maintenance & Troubleshooting
Regular cleaning and prompt attention to issues will ensure your Moen faucet’s longevity and optimal performance, preventing more significant problems down the line.
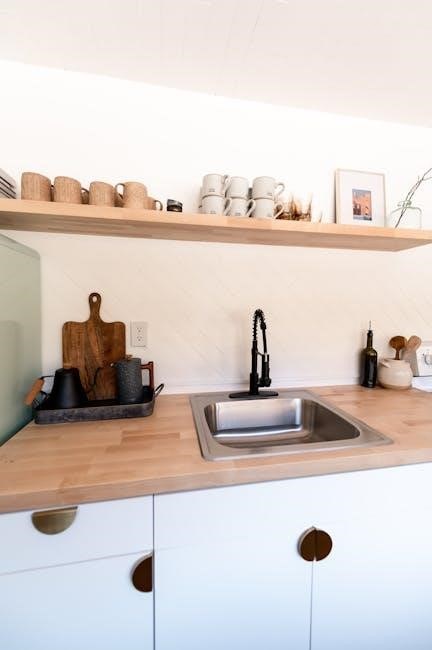
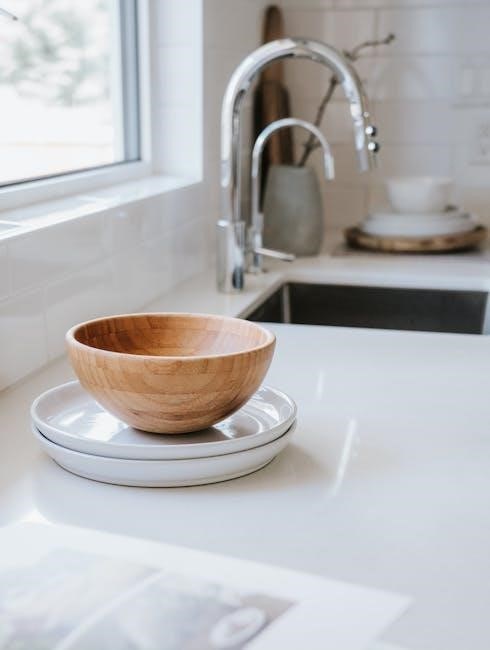
Cleaning Your Moen Faucet
Maintaining the pristine appearance of your Moen one-handle pullout kitchen faucet is surprisingly simple with regular cleaning. Avoid abrasive cleaners, as these can scratch and dull the finish. Instead, opt for a mild dish soap and warm water solution.
Use a soft cloth or sponge to gently wipe down the faucet body, handle, and spout. For stubborn water spots or mineral buildup, soak a cloth in white vinegar and apply it to the affected areas for a few minutes before wiping clean.
Pay close attention to the aerator, as it can accumulate debris. Unscrew the aerator and rinse it thoroughly under running water, removing any sediment. Regularly cleaning the aerator ensures consistent water flow.
Rinse the faucet thoroughly with clean water after cleaning and dry it with a soft, clean cloth to prevent water spots. Consistent cleaning will preserve the beauty and functionality of your Moen faucet for years to come.
Addressing Low Water Pressure
Experiencing low water pressure with your Moen one-handle pullout kitchen faucet can be frustrating, but often easily resolved. The first step is to check if the issue affects all faucets in your home. If so, the problem likely lies with your main water supply or pressure regulator.
If the low pressure is isolated to your Moen faucet, inspect the aerator for sediment buildup. Unscrew it and thoroughly rinse it under running water, removing any debris. A clogged aerator is a common cause of reduced flow.
Next, check the supply lines for kinks or obstructions. Ensure they are fully open and free from any blockages. If the issue persists, the cartridge within the faucet handle may be worn or damaged, restricting water flow.
Consider replacing the cartridge as a potential solution. If these steps don’t restore adequate pressure, consulting a qualified plumber is recommended.
Fixing Leaks Around the Handle
Leaks around the faucet handle of your Moen one-handle pullout kitchen faucet typically indicate a worn or damaged cartridge or O-rings. Begin by shutting off the water supply to the faucet. Then, carefully remove the handle, often requiring a small Allen wrench to loosen a set screw.
Once the handle is off, you’ll access the cartridge. Remove the retaining clip or nut holding the cartridge in place. Gently pull the cartridge straight up and out. Inspect the cartridge and O-rings for cracks, tears, or wear.
Replace the cartridge if damaged, or simply replace the O-rings if they appear to be the source of the leak. Apply a plumber’s grease to the new O-rings before reassembly. Reinstall the cartridge, retaining clip, and handle, ensuring everything is securely tightened.
Turn the water supply back on and check for leaks. If the leak persists, double-check the cartridge installation and O-ring seating.
Repairing Pullout Hose Issues
A common issue with Moen one-handle pullout faucets is a restricted or leaking pullout hose. First, detach the hose from the faucet body, ensuring the water supply is shut off. Inspect the hose for kinks, cracks, or damage. A kink can often be straightened, but cracks necessitate replacement.
Check the hose connections at both ends for tightness and proper sealing. Replace any worn or damaged washers or O-rings at these connection points. If the hose is clogged, try flushing it with water under pressure, carefully avoiding sharp bends that could cause further damage.
For persistent clogs, consider disconnecting the hose and using a small brush or pipe cleaner to remove debris. When reinstalling, ensure the hose retracts smoothly and doesn’t bind. If retraction is difficult, a small amount of silicone lubricant can help.
Always test for leaks after reattachment before resuming normal use.
Replacing the Cartridge
A worn cartridge is a frequent cause of dripping or difficulty controlling water temperature in Moen one-handle faucets. Begin by shutting off the water supply and relieving pressure. Remove the handle, typically by loosening a set screw hidden beneath a decorative cap.
Next, unscrew the cartridge retaining clip or nut. Gently pull the old cartridge straight up and out of the faucet body. Before installing the new cartridge, inspect the valve body for any debris or corrosion, cleaning it if necessary.
Lubricate the new cartridge’s O-rings with silicone grease. Align the cartridge correctly – usually indicated by a notch or flat side – and firmly press it into place. Reinstall the retaining clip or nut, then the handle.
Turn the water supply back on slowly and check for leaks. If leaks persist, double-check the cartridge installation and ensure all components are properly seated.
Dealing with Aerator Problems
A clogged or malfunctioning aerator can significantly reduce water flow and pressure. Begin by unscrewing the aerator housing from the faucet spout – often by hand, but pliers can be used carefully with a cloth to avoid scratches.
Disassemble the aerator, typically consisting of a screen, flow restrictor, and housing. Inspect each component for mineral buildup or debris. Soak the parts in white vinegar for several hours to dissolve mineral deposits.
Use a small brush or toothpick to gently remove any remaining particles. Rinse all components thoroughly with clean water. Reassemble the aerator in the correct order, ensuring the screen and flow restrictor are properly seated.
Screw the aerator housing back onto the faucet spout. Test the water flow – it should be noticeably improved. If problems persist, consider replacing the aerator entirely, as they are inexpensive and readily available.
Advanced Troubleshooting
This section details solutions for complex issues, including noisy operation, inconsistent water temperatures, and difficulties with handle movement and responsiveness.
Identifying and Fixing Noisy Faucets
A noisy Moen faucet can be disruptive, but often indicates a simple fix. First, determine the type of noise – is it a squeal, a rattle, or a hum? Squealing often points to worn-out O-rings or a loose cartridge. Begin by shutting off the water supply and disassembling the handle to inspect and replace these components.
Rattling sounds frequently originate from loose water supply lines or the faucet body itself. Tighten connections carefully, avoiding over-tightening which can cause damage. A humming noise may suggest a partially blocked aerator or a problem with the water pressure. Remove and clean the aerator thoroughly.
If the noise persists, the cartridge may be the culprit. Replacing the cartridge is a common repair. Ensure you have the correct replacement cartridge for your specific Moen model. If you’re uncomfortable with disassembly, consult a qualified plumber to diagnose and resolve the issue safely and effectively.
Resolving Issues with Water Temperature Consistency
Fluctuating water temperatures with your Moen faucet are often linked to the pressure-balancing cartridge. This cartridge regulates the mix of hot and cold water. If it’s failing, you may experience sudden temperature shifts or difficulty achieving a consistent temperature. Begin by checking your water heater’s temperature setting to ensure it’s within a safe and reasonable range.
Next, inspect the cartridge itself. Shut off the water supply and carefully remove the cartridge. Look for any signs of wear, corrosion, or debris buildup. Cleaning the cartridge may temporarily resolve the issue, but replacement is often necessary for a lasting solution.
Ensure you purchase the correct replacement cartridge specifically designed for your Moen faucet model. Proper installation is crucial; follow the manufacturer’s instructions carefully. If the problem persists after cartridge replacement, there may be an issue with your water heater or plumbing system, requiring professional attention.
Diagnosing and Repairing Handle Stiffness
A stiff or difficult-to-move handle on your Moen faucet usually indicates a buildup of mineral deposits or corrosion within the cartridge assembly. Over time, these deposits can restrict the smooth movement of the internal components. Begin by attempting to lubricate the cartridge with a silicone-based plumbing grease. Shut off the water supply before disassembly.
Carefully remove the handle and cartridge, inspecting for visible mineral buildup or corrosion. Soak the cartridge in a solution of white vinegar and water for several hours to dissolve the deposits. Thoroughly rinse and lubricate the cartridge before reinstalling it.
If lubrication and cleaning don’t resolve the stiffness, the cartridge may be worn and require replacement. Ensure you obtain the correct replacement cartridge for your specific Moen model. If stiffness persists even after replacement, inspect the faucet body for any internal obstructions or damage.

Safety Precautions & Warranty
Always shut off the water supply before maintenance. Moen provides a limited lifetime warranty against manufacturing defects and finish flaws for residential use.
Important Safety Guidelines
Prior to any installation or maintenance, it is crucial to completely shut off the water supply to the faucet. Failure to do so could result in significant water damage or personal injury. Always relieve water pressure by opening the faucet after shutting off the supply lines.
Wear appropriate safety glasses during installation and repair to protect your eyes from debris. When using tools, follow the manufacturer’s instructions carefully and exercise caution to avoid accidental injury.
If you are unfamiliar with plumbing procedures, it is highly recommended to consult a qualified plumber. Incorrect installation can void the warranty and potentially cause leaks or other issues.
Never attempt to disassemble or repair any part of the faucet while the water supply is still connected. Ensure all connections are tight and secure after completing any work. Dispose of any old parts responsibly.
Be mindful of hot water temperatures and avoid scalding. Always test the water temperature before using the faucet, especially after making adjustments.
Moen Warranty Information
Moen extends a limited lifetime warranty against leaks, drips, and finish defects to the original purchaser of the faucet. This warranty covers all parts and finishes of the Moen one-handle pullout kitchen faucet for as long as the original purchaser owns the home.
The warranty does not cover damage resulting from misuse, abuse, improper installation, or normal wear and tear. Damage caused by hard water mineral deposits, cleaning agents, or external factors is also excluded.
To obtain warranty service, you must provide proof of purchase, such as a sales receipt or invoice. Contact Moen’s customer service department to initiate a warranty claim and receive instructions for returning the defective part.
Moen reserves the right to repair or replace the defective part at their discretion. Shipping costs for warranty replacements may apply. This warranty provides exclusive remedies and is in lieu of all other warranties, expressed or implied.